Fadia Complete Build Guide: ETD-4 Member, Baicang’s Best Partner, the HP-to-Damage Vampire Tank-Healer
Complete build guide for Fadia, the standard S-rank in Neverness to Everness (NTE) — an Anomaly Bureau ETD-4 member and HP-to-damage vampire Esper. Covers the free Eternal Waltz signature Arc, the dual Demon Blood: Curse vs Tiny Big Adventure paths, and her role as Baicang’s best partner.
Published: 2026/05/25
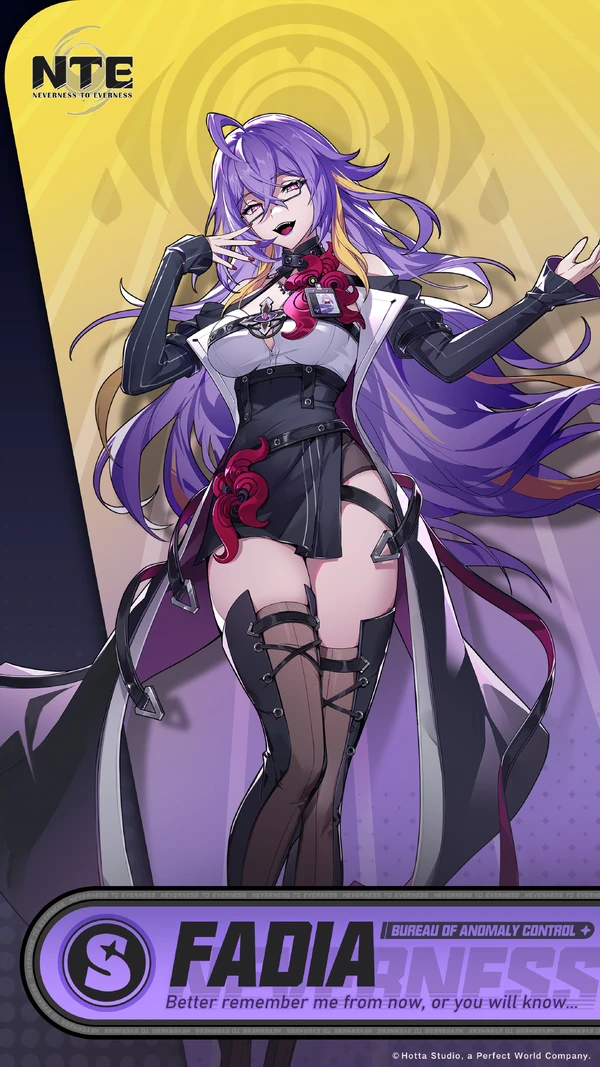
Key Answer: Fadia is a 1.0 standard S-rank tank-healer + Sub-DPS, with the Anima / Psyche element, a Synthesis-type twin-blade + cross-shield Arc, JP CV Naomi Shindo, the codename “Apostle of Love and Death,” and is an Anomaly Bureau ETD-4 member + Baicang’s direct subordinate. Core mechanic: the HP-to-damage vampire Esper power — automatically shares allies’ damage + the DE mark makes enemies take linked damage (the more she gets hit, the stronger she gets). Her signature Arc, Eternal Waltz, is completely free (the “Deal? Deal!” main quest + the Cape Grand Hotel weekly boss). Baicang’s best partner (perfectly cancels his built-in self-damage).
An Anomaly Bureau ETD-4 member, a vampire-type Esper, and Baicang’s direct subordinate — Fadia is known across the community as “Baicang’s best partner,” an “ETD-4 member,” the “HP-to-damage textbook,” and “the more she gets hit, the stronger she gets.” This article lays out her mechanics, build, Eidolons, recommended teams, and progression path all in one place.
1. Character Basics
| Item | Details |
|---|---|
| Chinese Name | 法蒂亞 (this site’s primary translation) / 法蒂婭 (some zh-TW guides) |
| English Name | Fadia |
| Rarity | S-rank (standard pool) |
| Element | Anima / Psyche / Mental (the in-game zh translation is the “Anima” element; in English it’s Psyche, with skill damage labeled as Mental DMG) |
| Arc Type | Synthesis |
| Weapon Look | Twin blades + a transforming Cross Shield |
| Role | Survival / tank + healer + Sub-DPS — the unique HP-to-damage mechanic |
| Codename | Apostle of Love and Death |
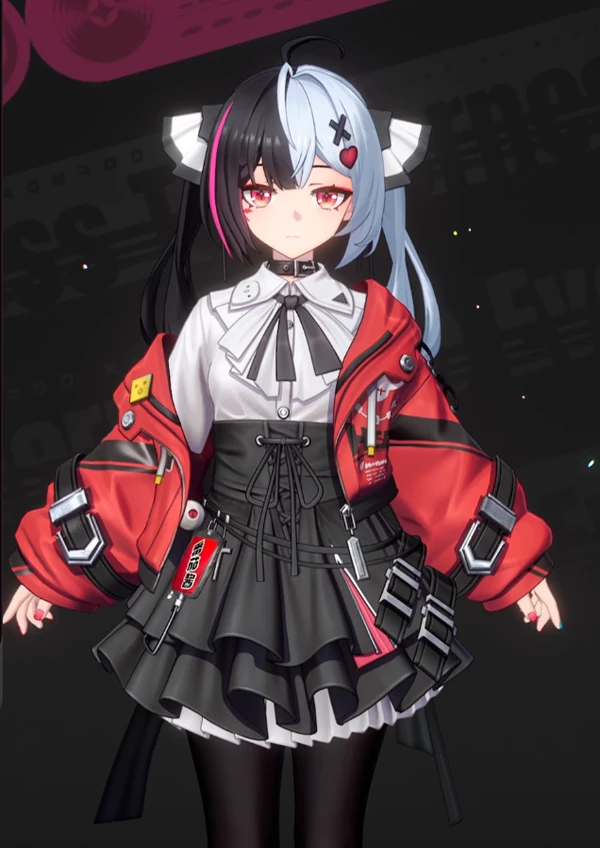
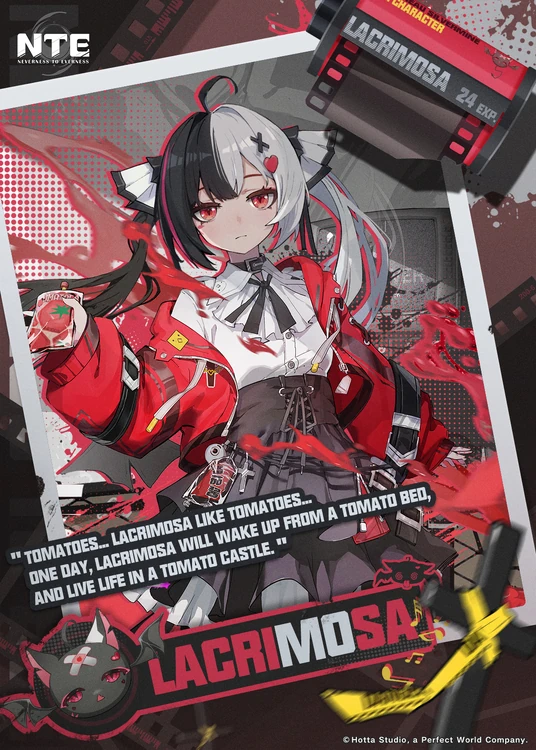
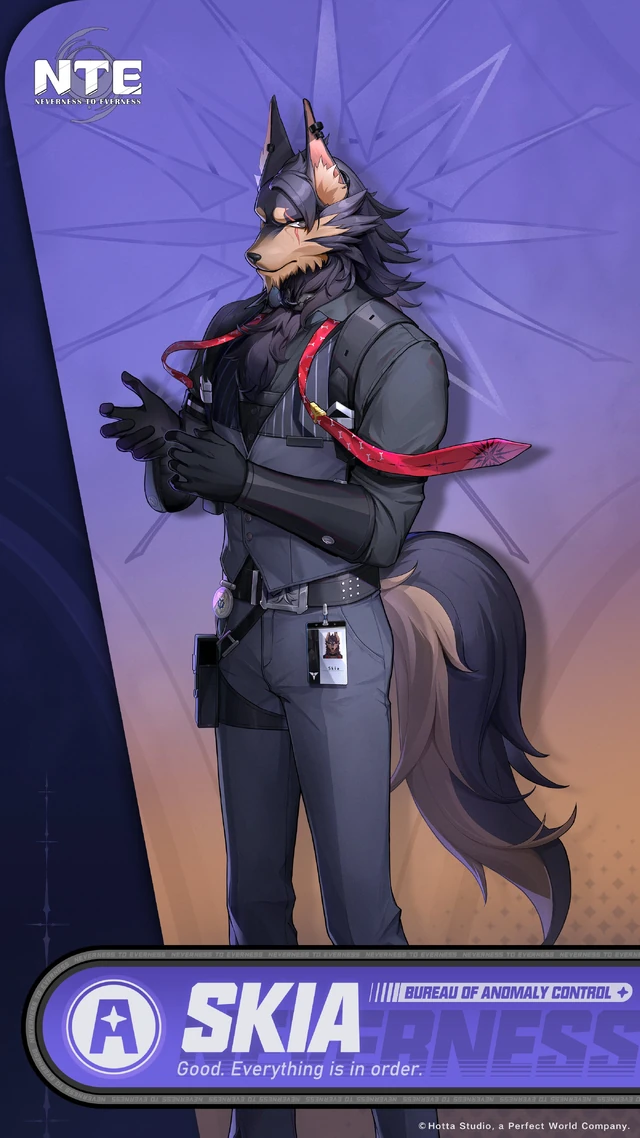
| Lore | Anomaly Bureau ETD-4 member; a vampire-type Esper; a member of Hytro City’s elite squad, Baicang’s direct subordinate, on the same team as Lacrimosa and Skia |
| Voice Actors | EN: Amber Lee Connors; JP: Naomi Shindo / Kei Shindo; CN per the in-game text |
| Release Date | CN server 2026/04/23, global server 2026/04/29 |
2. Skill Set
Basic Attack [Wordless Rejection]
A three-hit Mental-damage combo, mainly used for charging / swapping; when Fadia is not the on-field Main DPS, her basic attack has the lowest priority.
E / Shift Skill [Existence]
Applies a Destructive Experience (DE) mark to “the enemy with the highest Max HP.”
⭐ When Fadia takes damage, the marked target suffers linked damage (base multiplier around 300%, up to 600% after A1)
This mark is Fadia’s main source of Sub-DPS output.
Q / Ultimate [Agony to Euphoria]
Transforms into the Lilith form, dealing AoE Mental damage and healing the whole team (the healing scales off Fadia’s Max HP).
⭐ Within 10 seconds of activating the Ultimate, Fadia has an enhanced basic-attack chain on the field, and combined with Eternal Waltz triggers a 10%-18% Mental DMG buff.
Passive [Attraction / Damage Transfer] ⭐ Core
- While HP > 1, she automatically transfers a portion of damage taken by allies onto herself (roughly 50% base, raised to 75% at A5)
- The transferred damage cannot be re-distributed and is settled before shields
- Once HP drops to 1, it switches to splitting her own damage out to allies (which triggers the Ultimate-finisher threshold)
Combo Routines
Offensive (Sub-DPS):
Sit on the bench soaking damage via the passive → HP approaches the DE threshold → swap in, E (mark)
→ Q (Ultimate finisher, Mental DMG burst + heal) → finish with enhanced basic attacks → swap back to the Main DPS
Splitting (Healing):
Stay on the bench the whole time, only swapping in to use Q for the large-area heal when allies are in critical danger3. Eidolons / Awakenings (A1-A6)
| Eidolon | Name | Effect | Priority |
|---|---|---|---|
| A1 | Instinct | DE linked-damage multiplier 300% → 600%, “Attraction” duration +4 sec, E skill CD -2 sec | ⭐⭐⭐⭐⭐ Most critical |
| A2 | Curser of Blessings | Max HP +30% in combat, DE efficiency +15% | ⭐⭐⭐⭐⭐ |
| A3 | Apostate | Damage-transfer ratio raised to 75% | ⭐⭐⭐⭐ |
| A4 | Bringer of Love and Death | DE can be applied to multiple targets at once (up to 10) | ⭐⭐⭐⭐ |
| A5 | Breaker of Taboos | Ultimate-finisher healing raised to 60% of Max HP | ⭐⭐⭐ |
| A6 | Survivor of Death | Lilith-form Crit Rate +, plus +8% HP per Anima ally (up to 24%) | ⭐⭐ |
Conclusion: She is fully playable at E0 (the passive itself is the core mechanic); A1 is the qualitative leap (doubling output), A2 greatly raises her tankiness, so for the absolute peak, go A1 + A2; A6 has the worst value and isn’t worth forcing for regular players.
4. Best Build (Two Paths)
Path A: Offensive / Sub-DPS
Arc — Eternal Waltz (free BiS)
| Stat | Value |
|---|---|
| Type | Synthesis |
| Base ATK | 424 (Lv 80) / 28 (Lv 1) |
| Sub-stat | HP%, up to 41.2% (Lv 70+) |
| Core Passive T1 | Max HP +20%; for 10 seconds after using the Ultimate finisher, Mental DMG +10% |
| Max Remix T5 | Max HP +32%; Mental DMG +18% |
How to obtain: complete the main quest “Deal? Deal!” → unlock the Hytro Ebisu Auction House / the Cape Grand Hotel weekly boss “The Never-Ending Arachne” → clear it to get the drop, completely free
For the detailed boss strategy, see the Anomaly Boss Bestiary.
Gear — Demon Blood: Curse 4-piece
- 2-piece: Mental DMG +10%
- 4-piece: Damage +18%, raised to +36% against enemies in the Nova or Stain state
- Alternative: Demon Blood 2 + Tiny Big Adventure 2 (a mixed transitional setup)
Main / Sub Stats
| Slot | Priority |
|---|---|
| Main Stat | HP% / Mental DMG% / crit sub-stats |
| Main-stat priority | HP% > Mental DMG% > Crit Rate / Crit DMG |
Path B: Splitting / Healing (F2P / stable tank)
Arc
Eternal Waltz (as above) or a defensive-barrier-type S Arc (alternative)
Gear — Tiny Big Adventure 4-piece
- +4% Max HP each time she takes damage, stacking up to 10 for a total of +40-50% HP, each stack lasting 10 sec
- ⭐ The Ultimate finisher instantly refills all 10 stacks
- Pairs godlike with Fadia’s “blood as a shield, blood as a blade” mechanic
Main Stat
Stack HP% all the way; sub-stats HP% > flat HP > DEF%
5. Recommended Teams
1. Discord Meta Team (one of the strongest this version / Baicang-team variant) ⭐
Jiuyuan / Nanally (Main DPS) + Daffodill (Sub-DPS) + Sakiri (Buffer) + Fadia (tank + heal)
Fadia’s damage transfer lets the Main DPS deal damage worry-free, and her Q’s large AoE clears trash mobs along the way
 Anima
Anima Jiuyuan
Sub DPS / Grouping
 Chaos
Chaos Daffodill
Sub DPS
 Incantation
 Sakiri
Buffer / Grouping
 Psyche
 Fadia
Survival
2. ETD-4 Fan Team (story teammates + faction damage buff) ⭐
Baicang (Main DPS) + Fadia (tank / Sub-DPS) + Lacrimosa (Sub-DPS / Chaos) + Skia (Buffer / stealth)
Fadia’s Attraction passive perfectly cancels out Baicang’s built-in self-damage mechanic (the source of the community meme “Baicang’s best partner”); having multiple ETD-4 members on the team can trigger coordinated attacks

3. F2P / Low-Resource Stable Team
Fadia (healing-focused) + Skia + Daffodill + Adler (shields)
Fadia acts purely as a healer-tank; any 3 Main DPS can be propped up

4. Charge (Thunder) Team
Mint (Main DPS) + Esper Zero / Hathor + Fadia + Skia


6. Progression Priority
- Character level Lv 1 → 80 (ascension materials: Fading Phantom → Blurred Phantom → Chaotic Phantom, Moon-Water Pick, Beetle Coins)
- Skill leveling order: Ultimate Finisher (Q) > Shift Skill (E) > Assist Skill > Basic Attack
- Level the Eternal Waltz Arc to max Lv 80 (free to obtain, prioritize feeding it upgrade materials)
- Gear:
- Offensive → Demon Blood: Curse 4-piece
- Splitting → Tiny Big Adventure 4-piece
- Remix (signature-Arc refinement) prioritize T2 / T3; T5 has diminishing returns
7. Pull / Self-Select Advice
Conclusion: buildable at F2P, but she sits last in the standard self-select order.
| Rank | Character |
|---|---|
| 1 | Jiuyuan |
| 2 | Sakiri |
| 3 | Daffodill |
| 4 | Baicang |
| 5 | Hathor |
| 6 / last | Fadia |
When You Should Pull
- ⭐ You already pulled / self-selected Baicang — Fadia is his best partner
- ⭐ You want to assemble the ETD-4 fan team (Baicang + Fadia + Lacrimosa + Skia)
- You lack a stable tank / healer and want to skip the healer slot
When There’s No Rush
- You still have no Main DPS → fill the Main DPS slot first
- You already have a strong healer (another A/S-rank healer) → keep Fadia as a long-term play
8. Community Memes / Reception
- “ETD-4 member” — high faction identity, a must-pull for story fans
- “Baicang’s best partner” — Baicang’s skills carry built-in self-damage, and Fadia’s passive catches it perfectly, a model of 1+1 > 2
- “HP-sharing / damage-transfer mechanic” — a unique role found nowhere else in the game, the most stable tank this version
- “Eternal Waltz is the textbook of trading HP for damage” — a free S-rank signature Arc + an HP sub-stat + a Mental DMG buff, three-in-one
- “The more she gets hit, the stronger she gets” — the DE mechanic makes high-difficulty content actually feel comfortable to play
- Overall Bahamut reception: T1 strength, “especially good in specific comps,” “the standard S with the highest long-term investment value”
9. Fadia vs Other Support / Healer Comparison
| Comparison | Fadia | Sakiri | Edgar |
|---|---|---|---|
| Rarity | S standard | S launch gift | A free |
| Element | Anima | Incantation | Cosmos |
| Role | Tank + healer + Sub-DPS | Whole-team buff + crowd control | Healer + shields |
| Mechanic uniqueness | HP-to-damage (unique in the game) | 30% ATK buff | Standard healing |
| Pairing with Baicang | ⭐⭐⭐⭐⭐ perfectly cancels self-damage | ⭐⭐⭐ generic | ⭐⭐ |
| Self-select priority | last | first (if not gifted) | don’t pull |
Related Guides
- Signature Weapon (Signature Arc) Complete Guide — full comparison of Eternal Waltz
- Gear System Complete Guide — Demon Blood vs Tiny Big Adventure
- Anomaly Boss Bestiary — how to beat The Never-Ending Arachne
- Baicang Complete Build Guide — the best ETD-4 partner
- Team Building Primer — the Discord team structure
- 1.1 Version Preview — Lacrimosa joins ETD-4
FAQ
Is Fadia worth self-selecting? +
She is buildable at F2P, but she sits last in the standard self-select order (Jiuyuan > Sakiri > Daffodill > Baicang > Hathor > Fadia). When you should pull her: (1) you already pulled / self-selected Baicang — Fadia is his best partner (she perfectly cancels out Baicang’s built-in self-damage mechanic); (2) you want to assemble the ETD-4 fan team (Baicang + Fadia + Lacrimosa + Skia); (3) you lack a stable tank / healer and want to skip the healer slot. When there’s no rush: if you still have no Main DPS → fill the Main DPS slot first.
How does the HP-to-damage vampire mechanic work? +
Core passive "Attraction / Damage Transfer": while HP > 1, she automatically transfers a portion of damage taken by allies onto herself (roughly 50% base, raised to 75% at A5); the transferred damage cannot be re-distributed and is settled before shields; once HP drops to 1, it switches to splitting her own damage out to allies (which triggers the Ultimate-finisher threshold). Her E skill "Existence" applies a Destructive Experience (DE) mark to the highest-HP enemy — when Fadia takes damage, the marked target suffers linked damage (base multiplier 300%, raised to 600% after A1). The more she gets hit, the stronger she gets.
How do you get the Eternal Waltz signature Arc for free? +
Complete the main quest "Deal? Deal!" → unlock the Hytro Ebisu Auction House / the Cape Grand Hotel weekly boss "The Never-Ending Arachne" → clear it to get the drop, completely free. Stats: base ATK 424, sub-stat HP% (max 41.2%), Max HP +20%, and Mental DMG +10% for 10 seconds after the Ultimate (at max T5: HP +32% / Mental DMG +18%). A Synthesis-type Arc, the textbook case of trading HP for damage.
Should Fadia go offensive or healing-focused? +
Both paths are valid — it depends on your team’s needs. Offensive (Sub-DPS): Eternal Waltz + Demon Blood: Curse 4-piece (2-piece Mental DMG +10%, 4-piece +36% damage to enemies in the Nova / Stain state), main stats HP% / Mental DMG% / dual crit. Splitting (Healing): Eternal Waltz + Tiny Big Adventure 4-piece (+4% Max HP each time she takes damage, stacking up to 10 = +40-50% HP, with the Ultimate instantly refilling all 10 stacks), main stats all HP%. For new players, the splitting path is safer.
Which is Fadia’s most critical Eidolon? +
A1 "Instinct" is the biggest qualitative leap — DE linked-damage multiplier 300% → 600% (doubling DPS), "Attraction" duration +4 sec, E skill CD -2 sec. A2 "Curser of Blessings" is the second-strongest (Max HP +30% in combat, DE efficiency +15%). She is fully playable at E0 (the passive itself is the core mechanic). Eidolon priority: A1 > A2 > A3 > A4 > A5 > A6.
Fadia information compiled from public sources including Game8, GameWith, Mobalytics, HN PlayNews, LDPlayer, BlueStacks, Bahamut, Neverness.gg, and others. Some Awakening values differ slightly between guilds (the Attraction ratio 50%/75%, the 60% heal, the 600% DE multiplier, etc.); the in-game text is authoritative. The translation “Fadia” is rendered “法蒂亞 / 法蒂婭” in Chinese; this site uses the former.
Related articles
Edgar Complete Build Guide: The Only Pure-Healer A-Rank, Lamplight Academy Bookbag Bash, Call of the Twisted City
Chaos Complete Build Guide: 1.1 Limited S-Rank Lakshana Main DPS, Crime + Pursuit Warrant, Judgment Burst & Mist Hounds