NTE Full Reaction Team Compendium: All 8 Elemental Reaction Teams, Signature Comps per Main DPS, F2P Quick Reference
The complete Neverness to Everness (NTE) reaction team compendium — trigger elements, signature Main DPS, whale-tier best teams and F2P substitutes for all 8 elemental reactions (Blossom / Discord / Hexed / Charge / Stain / Scorch / Nova / Remora), plus a per-Main-DPS signature team quick reference and 1.1 Lacrimosa / Chaos positioning.
Published: 2026/05/25
Key takeaway: The foundation of NTE team building = “the Psionic Ring’s 6 elements form a ring, and only adjacent elements trigger reactions.” 8 reactions: binary (Blossom / Hexed / Stain / Scorch / Nova / Remora) + ternary (Charge = upper triangle, Discord = lower triangle). Standard four-person structure: Main DPS + Sub-DPS + Buffer + Healer / Tank. Easiest for F2P: Blossom / Charge / Stain (free Chaos characters are missing, so Discord / Scorch / Nova are harder F2P). Sakiri, Esper Zero, and Fadia are universal pairing cores.
“How should I build teams in NTE?” is one of the highest-frequency searches on GSC. This article uses the 8 elemental reactions as its axis, organizing the trigger, signature Main DPS, whale-tier best team, F2P substitutes, and each Main DPS’s signature comp into one quick reference.
ℹ Important note: The element name mapping follows this site’s baseline (Cosmos / Chaos / Anima / Psyche / Incantation / Lakshana). The precise trigger-element mapping for each reaction varies slightly between guide sources — defer to the in-game icons; however, the team character compositions are highly consistent across sources, so you can reference them with confidence. For the full reaction mechanics, see Psionic Reaction System Explained.
1. The Psionic Ring and the “Adjacency Trigger” Principle
The Psionic Ring’s 6 elements are arranged in a fixed ring, and only elements adjacent on the ring can trigger a reaction — swapping between non-adjacent elements produces nothing.
- Binary reactions: two adjacent elements on the ring → Blossom, Hexed, Stain, Scorch, Nova, Remora
- Ternary reactions: complete a full triangle → Charge (upper triangle), Discord (lower triangle)
Core team-building logic: when picking characters, cover at least two adjacent element pairs; to run a ternary reaction (Charge / Discord), you must complete a whole triangle.
2. The 8 Elemental Reaction Teams (Effect + Signature Main DPS + Best Team + F2P Team)
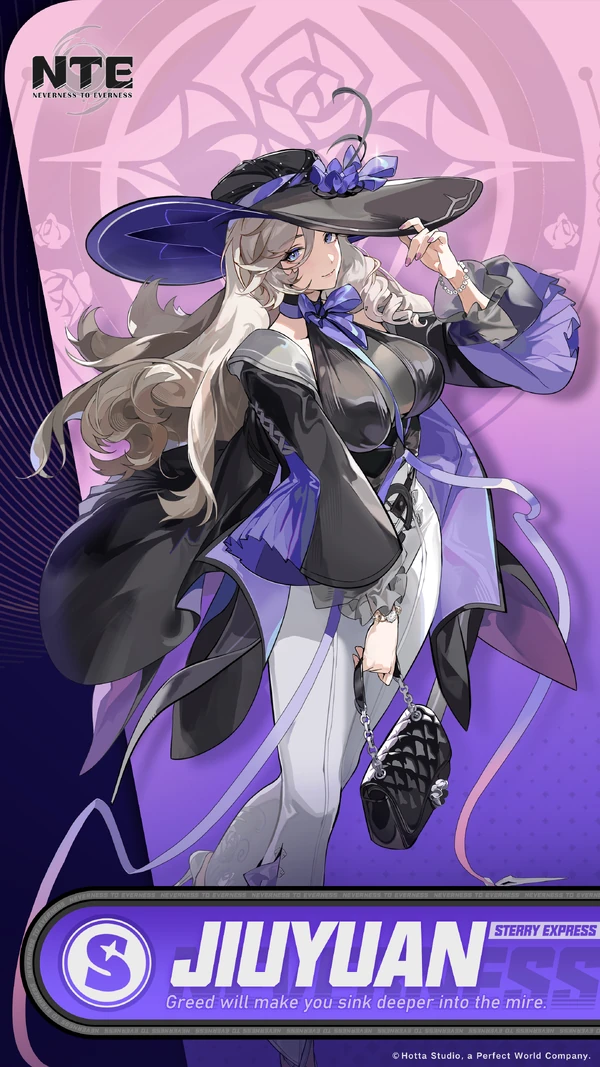
1. Blossom
- Effect: spawns auto-attacking flowers, “Vita Buds” on the field (an AoE pulse every 2 seconds, up to 3 blooms) — the ring’s only “continuous automatic damage source”
- Signature Main DPS: Nanally (each bloom spawned adds 10 hits of attack), Jiuyuan (adds more blooms, raises the cap to 6)
- Whale-tier best team: Nanally + Jiuyuan + Esper Zero + Sakiri
- F2P team: Mint + Esper Zero + Skia + Edgar / Adler
 Anima
Anima Nanally
Main DPS
 Anima
Anima Jiuyuan
Sub DPS / Grouping
 Cosmos
 Esper Zero
Sub DPS
 Incantation
 Sakiri
Buffer / Grouping
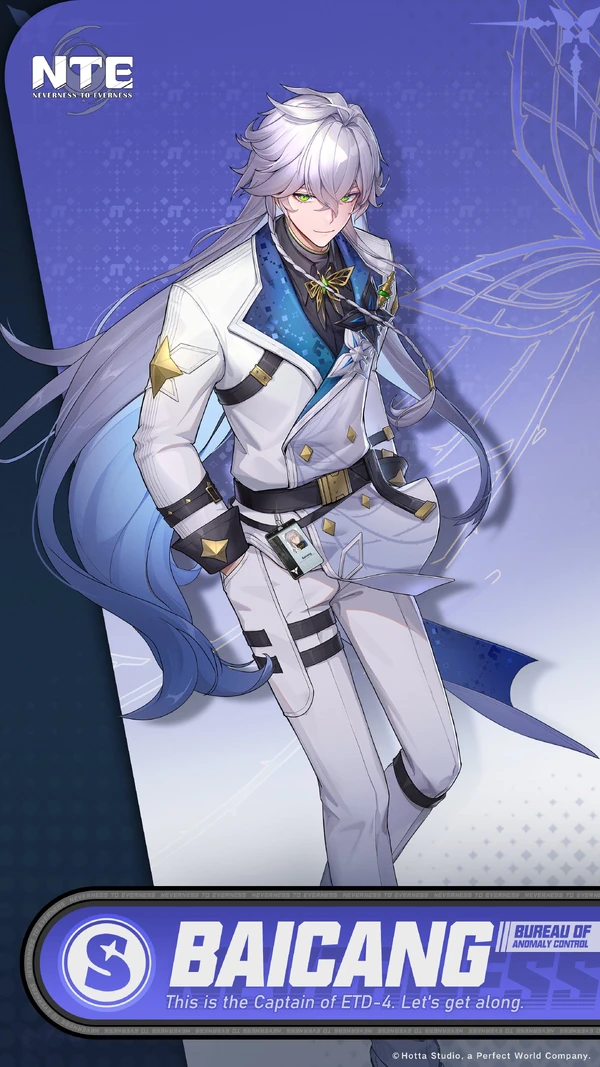
2. Discord (Ternary) ⭐ Strongest Poise Break
- Effect: triggers when the target has both Scorch + Nova applied simultaneously, continuously draining the poise bar and greatly accelerating poise break — especially strong against high-HP bosses
- Signature Main DPS: Baicang, Aurelia
- Whale-tier best team: Baicang + Daffodill + Haniel + Sakiri / Adler
- F2P team: ⚠️ bottlenecked on free Chaos characters (Daffodill is limited), hard to build in full as F2P
 Incantation
 Baicang
Main DPS
 Chaos
Chaos Daffodill
Sub DPS
 Psyche
 Haniel
Buffer
Incantation Sakiri
Buffer / Grouping
3. Hexed
- Effect: target takes additional damage = 20% of the damage it took over the past 12 seconds, settled on the next reaction trigger (deal high damage first, then trigger, for maximum payoff)
- Note: in 1.0 there is no dedicated passive to “enhance Hexed,” so it usually appears as a secondary reaction within Blossom teams
- Team: Nanally + Jiuyuan + Sakiri + Healer
4. Charge (Ternary)
- Effect: triggers after chaining Remora + Blossom, restoring ultimate energy for the whole team — it’s the engine of “quick-swap, high-frequency ult” teams
- Signature Main DPS: Chiz (each Charge hit grants 4 energy to on-field characters)
- Whale-tier best team: Chiz + Jiuyuan + Hathor + Fadia
- F2P team: Esper Zero + Skia + Mint + Adler
 Cosmos
 Chiz
Main DPS
Anima Jiuyuan
Sub DPS / Grouping
 Lakshana
 Hathor
Main DPS
 Psyche
 Fadia
Survival
5. Stain ⭐ Strongest Pure Damage Amp
- Effect: Psyche and Lakshana damage taken by the target +50% for 12 seconds (the ring’s strongest pure damage amp; the 12-second window can be kept near-permanent)
- Signature Main DPS: Aurelia, Skia, Hathor
- Whale-tier best team: Hathor + Skia + Aurelia + Sakiri
- F2P team: Aurelia + Skia + Esper Zero + Adler (Skia is the only free Lakshana character — be sure to keep her)
Lakshana Hathor
Main DPS
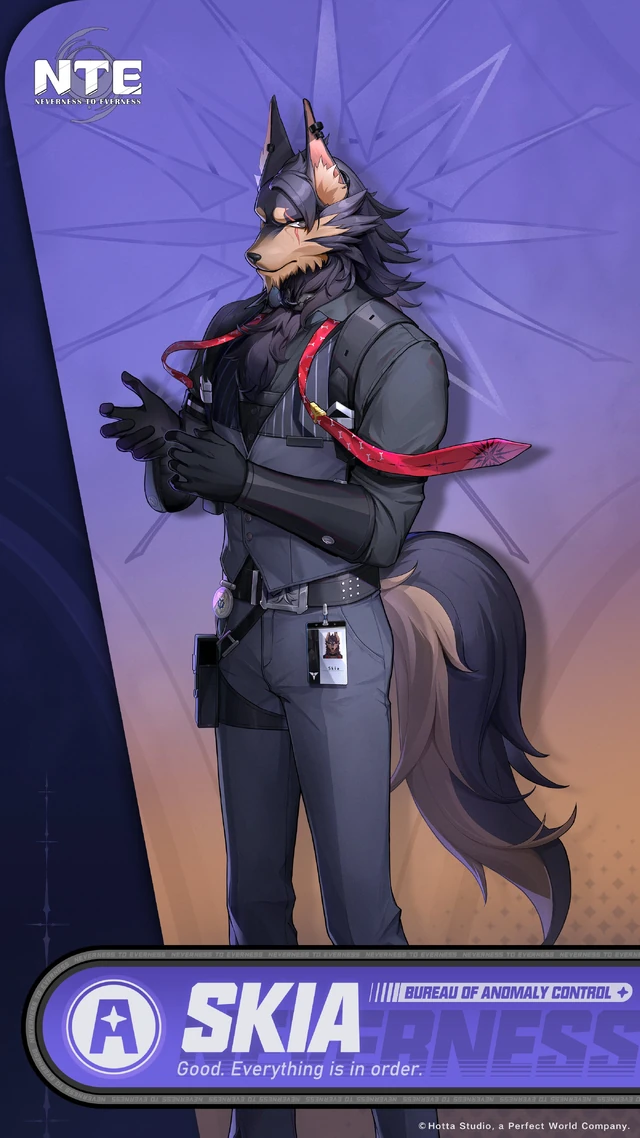 Lakshana
 Skia
Sub DPS
 Psyche
 Aurelia
Main DPS
Incantation Sakiri
Buffer / Grouping
6. Scorch
- Effect: a burning DoT lasting 15 seconds (the longest among binary reactions); it’s a prerequisite for the Discord ternary
- Signature Main DPS: Baicang (her kit is built entirely around Scorch; her basic attacks constantly generate “Mantra,” adding a second instance of Scorch)
- Whale-tier best team: Baicang + Daffodill + Sakiri + Fadia / Adler
- F2P team: ⚠️ lacks a free Chaos character, so pure Scorch is hard to build
7. Nova
- Effect: applies Nova to the target for 5 seconds, detonating at the end for heavy Psyche damage (a delayed burst); it’s the other prerequisite for the Discord ternary
- Signature Main DPS: Daffodill + Aurelia / Haniel
- Whale-tier best team: Daffodill + Aurelia + Haniel + Baicang / Adler
8. Remora
- Effect: marks the target and simultaneously lowers its movement and attack speed for 5 seconds (the ring’s only pure crowd-control / debuff); it’s the prerequisite for the Charge ternary
- Use: more functional — Skia / Hathor + Esper Zero triggers it reliably; it often serves as the “glue” for Charge and Stain teams
3. General Team Structure Rules
Standard Four-Person Structure (Slot Logic)
| Slot | Role | Examples |
|---|---|---|
| Main DPS | core damage dealer with the longest field time | Nanally, Baicang, Chiz, Aurelia |
| Sub-DPS | deals damage off-field (DoT / planted flowers / follow-up) | Jiuyuan, Daffodill, Mint |
| Buffer | damage amp or crowd control / mob gathering | Sakiri, Haniel, Hotori |
| Healer / Tank | survival | Adler (shield), Fadia, Edgar |
Quick-swap Team Core Logic
- All four are on the same team but only one is controlled at a time — the act of swapping itself triggers reactions
- Pick characters to cover at least two adjacent element pairs; to run a ternary reaction, complete the whole triangle
- Standard rotation: Sub-DPS applies DoT / marks first → Buffer gathers mobs → ring-charger (Esper Zero / Fadia) fills the rotation gauge → swap to Main DPS to trigger the reaction burst
- Esper Zero and Fadia are widely regarded as the fastest at quick-swapping and charging the ring
4. Signature Team Quick Reference per Main DPS ⭐
| Main DPS (Element) | Core Reaction | Signature Team |
|---|---|---|
| Nanally (Anima) | Blossom (+ Hexed / Charge) | Nanally + Jiuyuan + Esper Zero + Sakiri |
| Baicang (Incantation) | Scorch → Discord | Baicang + Daffodill + Sakiri + Fadia / Adler |
| Jiuyuan (Anima) | Blossom / Charge (usually Sub-DPS) | Chiz / Nanally + Jiuyuan + Hathor + Fadia |
| Hotori (Cosmos) | universal support (time-stop clone / heal / CC / energy) | Esper Zero + Mint + Hotori + any |
| Hathor (Lakshana) | Stain + Remora / Charge | Hathor + Skia + Aurelia + Sakiri |
| Daffodill (Chaos) | Scorch / Nova / Discord engine (Sub-DPS / poise break) | Baicang / Aurelia + Daffodill + Haniel + Adler |
| Chiz (Cosmos) | Charge | Chiz + Jiuyuan + Hathor + Fadia |
| Aurelia (Psyche) | Stain / Discord | Aurelia + Hathor + Esper Zero + Sakiri |
| Fadia (Psyche) | quick-swap ring-charging support | Buffer filling the Psyche slot + survival |
| Sakiri (Incantation) | universal buff (team ATK + DoT amp) | universal 3rd / 4th slot, especially strong in Scorch / Discord / Blossom teams |
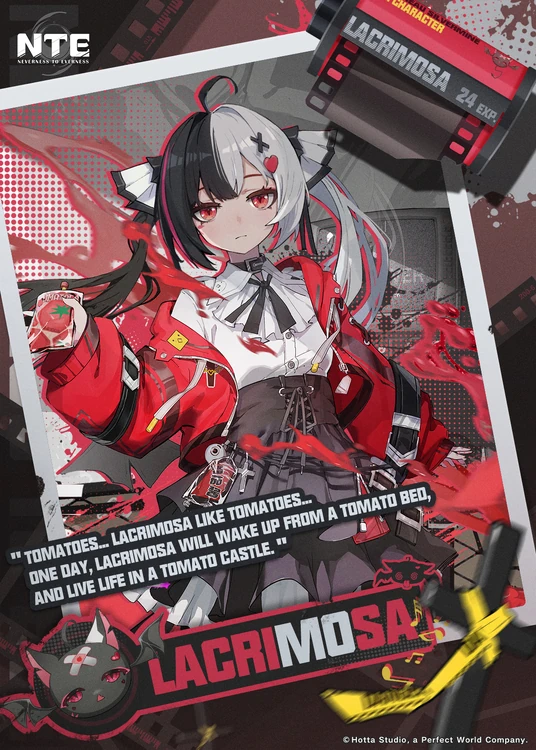
| Lacrimosa (Chaos, 1.1) | Discord (poise-break burst) | Lacrimosa + Baicang + Daffodill + Haniel |
5. Team Roles of 1.1 New Characters
Lacrimosa (S-rank Chaos, Main DPS / DoT)
- Her signature is the Discord team; her kit revolves around stacking “Chaos constructs” — placement-type off-field damage + lowering the enemy’s maximum poise
- When Discord triggers on a target whose poise is already broken, she adds a 400% ATK burst
- Best team: Lacrimosa + Baicang + Daffodill + Haniel
Chaos (S-rank Lakshana, second half of 1.1)
- Reinforces the Lakshana-phase damage of the Stain / Charge / Remora systems; he can serve as a second Lakshana carry alongside Hathor (limited data — defer to the in-game version)
For details, see the Lacrimosa preview / Chaos preview.
6. F2P Element Audit (Important!)
| Element | Free Characters | F2P Buildability |
|---|---|---|
| Cosmos | Esper Zero, Hotori, Chiz | ✅ plentiful |
| Anima | Mint, Jiuyuan | ✅ plentiful |
| Incantation | Adler, Sakiri | ✅ plentiful |
| Psyche | Haniel, Aurelia, Fadia | ✅ plentiful |
| Lakshana | Skia | ⚠️ only 1 free (be sure to keep her) |
| Chaos | (Daffodill, Lacrimosa both limited) | ❌ extremely scarce |
Conclusion:
- Easiest for F2P to assemble: Blossom, Charge, Stain
- Harder for F2P to run in full: Scorch / Nova / Discord (all bottleneck on Chaos)
7. Related Guides
- Psionic Reaction System Explained — a detailed breakdown of the 6 elements and reaction mechanics
- Combat System Complete Guide — parry / poise break / quick-swap
- Team Building Basics — the fundamentals of team structure
- Recommended Teams — examples from beginner to advanced
- Per-Element Strongest Character Tier List — T0 / T1 by element
- Individual character build guides (Nanally / Baicang / Hathor, etc.)
FAQ
How do elemental reactions trigger in NTE? +
The Psionic Ring has 6 elements arranged in a fixed ring, and only elements that are "adjacent on the ring" can trigger a reaction — swapping between non-adjacent elements produces nothing. Binary reactions (two adjacent elements): Blossom, Hexed, Stain, Scorch, Nova, Remora. Ternary reactions (completing a full triangle): Charge (upper triangle), Discord (lower triangle). The core team-building logic is "cover at least two adjacent element pairs; to run a ternary reaction, complete the whole triangle." ⚠️ The element-to-reaction mapping varies slightly between sources — defer to the in-game icons.
Which reaction teams are easiest for F2P players to build? +
The easiest comps for F2P to assemble are Blossom, Charge, and Stain. Free characters cover Cosmos (Esper Zero, Hotori), Anima (Mint), Incantation (Adler, Sakiri), Psyche (Haniel, Aurelia), and Lakshana (Skia). ⚠️ The one exception is Chaos — free Chaos characters are extremely scarce (both Daffodill and Lacrimosa are limited), so Scorch / Nova / Discord are harder to run in full as F2P because they bottleneck on Chaos — be prepared for that.
What is the standard structure of an NTE team? +
The standard four-person structure: Main DPS (the core damage dealer with the longest field time) + Sub-DPS (deals damage off-field — DoT / planted flowers / follow-up attacks) + Buffer (damage amplification or crowd control / mob gathering, e.g. Sakiri / Haniel / Hotori) + Healer / Tank (survival, e.g. Adler shield / Fadia). Quick-swap logic: all four are on the same team but only one is controlled at a time — the act of swapping itself triggers reactions. Esper Zero and Fadia are widely regarded as the fastest characters for quick-swapping and charging the ring.
Which Main DPS pairs with which strongest team? +
Quick reference: Nanally → Blossom team (+ Jiuyuan + Esper Zero + Sakiri); Baicang → Scorch / Discord team (+ Daffodill + Sakiri + Fadia); Hathor → Stain team (+ Skia + Aurelia + Sakiri); Chiz → Charge team (+ Jiuyuan + Hathor + Fadia); Aurelia → Stain or Discord team; Hotori → universal support (time-stop clone). Sakiri fits almost any 3rd / 4th slot.
What are the team roles of 1.1 Lacrimosa and Chaos? +
Lacrimosa (Chaos DoT Main DPS) → core of the Discord team: Lacrimosa + Baicang + Daffodill + Haniel; when Discord triggers on a target whose poise is already broken, she adds a 400% ATK burst. Chaos (Lakshana character) → second half of 1.1, reinforcing the Lakshana-phase damage of the Stain / Charge / Remora systems; he can serve as a second Lakshana carry alongside Hathor (limited data — defer to the in-game version).
Team data compiled from public sources including Game8, GameWith, Kaiden.gg, ZeroLuck, Mobalytics, Icy Veins, ntewiki, allclash, GameRant, Bahamut, LDPlayer, 4Gamers, and others. The precise trigger mapping for element reactions and the localized reaction names vary slightly between sources — defer to the in-game icons; the team character compositions are highly consistent across sources. 1.1 Lacrimosa / Chaos are previews.
Related articles
NTE Elemental Reaction System: 6 Elements, Reaction Strength & Damage Tier List
NTE Full Anomaly Commission Master List: 38 Commissions + 12 High-Risk + Free S-Arc Map, All on One Page